LATEST NEWS
Press releases & Product news
The differences and applications of various hardness testers
2024-05-23

According to the Vickers hardness tester, hardness is a performance indicator that measures the degree of softness and hardness of a material. There are many methods and principles for hardness testing, and the measured hardness values and meanings are also different. The commonly used methods are the static load indentation hardness test, which includes Brinell hardness (HB) and Rockwell hardness (HRA), HRB,HRC)、 Vickers hardness (HV), which represents the ability of a material's surface to resist the pressure of hard objects. The Leeb hardness (HL) and Shaw hardness (HS) belong to the rebound hardness test, and their values represent the magnitude of the metal's elastic deformation work. Therefore, hardness is not a simple physical quantity, but a comprehensive performance indicator that reflects the elasticity, plasticity, strength, and toughness of materials.
1. The hardness of steel: The code for metal hardness is H. According to different hardness testing methods,
The conventional indications include Brinell (HB), Rockwell (HRC), Vickers (HV), and Leeb (HL) hardness, among which HB and HRC are more commonly used.
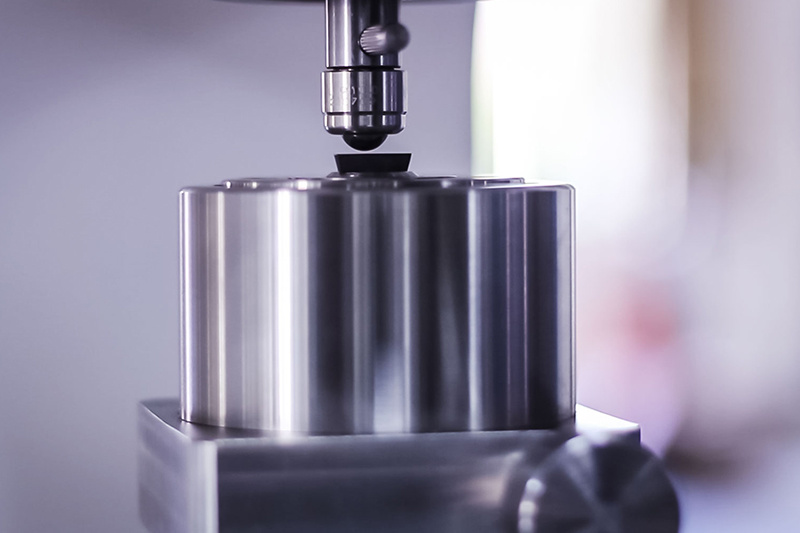
HB has a wide range of applications, HRC is suitable for materials with high surface hardness, such as heat treatment hardness. The difference between the two lies in the different measuring heads of the hardness tester. The measuring head of the Brinell hardness tester is a steel ball, while the measuring head of the Rockwell hardness tester is a diamond.
HV - suitable for microscopic analysis. The Vickers hardness (HV) is obtained by pressing a diamond square cone indenter with a load of up to 120kg and a top angle of 136 ° into the surface of the material, dividing the surface area of the material indentation by the load value.
HL portable hardness tester, easy to measure, uses the impact ball head to impact the hardness surface, causing bouncing; Calculate the hardness using the ratio of the rebound velocity of the punch at a distance of 1mm from the surface of the specimen to the impact velocity. The formula is: Leeb hardness HL=1000 x VB (rebound velocity)/VA (impact velocity).
The portable Leeb hardness tester can convert Brinell (HB), Rockwell (HRC), Vickers (HV), and Shore (HS) hardness measurements using Leeb (HL). Alternatively, hardness values can be directly measured using Brinell (HB), Rockwell (HRC), Vickers (HV), Leeds (HL), and Shore (HS) principles. TH140 produced by Time Company TH160 and HLN-11A have this function, which is a beneficial supplement to traditional desktop hardness machines!
2 HB Brinell hardness; Vickers hardness tester
Brinell hardness (HB) is generally used when materials are softer, such as non-ferrous metals, steel before heat treatment, or after annealing. Rockwell hardness (HRC) is generally used for materials with higher hardness, such as hardness after heat treatment, and so on.
Cloth hardness (HB) is a test load of a certain size, where a certain diameter of quenched steel ball or hard alloy ball is pressed into the surface of the tested metal, held for a specified time, and then unloaded to measure the diameter of the indentation on the tested surface. The Brinell hardness value is the quotient obtained by dividing the load by the spherical surface area of the indentation. Generally, a hardened steel ball of a certain size (usually 10mm in diameter) is pressed into the surface of the material under a certain load (usually 3000kg), maintained for a period of time, and after unloading, the ratio of the load to the indentation area is the Brinell hardness value (HB), in kilograms per square meter (N/mm2).
3. Rockwell hardness is a hardness index determined by the depth of indentation plastic deformation. Use 0.002 millimeters as a hardness unit. When HB>450 or the sample is too small, the Brinell hardness test cannot be used and Rockwell hardness measurement should be used instead. It is a diamond cone with a top angle of 120 ° or a steel ball with a diameter of 1.59 and 3.18mm, pressed into the surface of the tested material under a certain load, and the hardness of the material is calculated from the depth of the indentation. According to the different hardness of the test materials, there are three different scales to represent:
HRA: It is a hardness obtained using a 60kg load and a diamond cone indenter, used for materials with extremely high hardness (such as hard alloys).
HRB: It is the hardness obtained using a 100kg load and a 1.58mm diameter quenched steel ball, used for materials with lower hardness (such as annealed steel, cast iron, etc.).
HRC: It is a hardness obtained using a 150kg load and a diamond cone indenter, used for materials with high hardness (such as quenched steel).
Additionally:
1. HRC means Rockwell hardness C scale,
Both HRC and HB are widely used in production
3. HRC applicable range HRC20-67, equivalent to HB225-650
If the hardness is higher than this range, use the Rockwell hardness A scale HRA.
If the hardness is below this range, use the Rockwell hardness B scale HRB.
The upper limit of cloth hardness is HB650 and cannot be higher than this value.


