
LATEST NEWS
Press releases & Product news
Always confused about metallographic samples? These 5 marking methods are essential lab essentials!
2025-09-22

Have you ever struggled with how to mark your metallographic samples? Different material properties, experimental conditions, and storage requirements often necessitate choosing the most appropriate marking method. Below are five common metallographic sample marking methods for your reference.
1. Mechanical Marking Method
Use a tool such as a steel needle, diamond graver, electric engraving pen, or punch or press to inscribe on the sample surface.
Note: The incision depth should be controlled to avoid deformation or cracking of the sample due to stress concentration. Also, the marking location should be away from the area to be observed to prevent interference with microstructural analysis.
2. Label/Tape Marking Method
Apply a label or tape with a number or QR code to the side or back of the sample.
This method is suitable for temporary or short-term experiments and is easy to use. However, it is not resistant to high temperatures (such as during hot mounting) or highly corrosive environments and can easily fall off or become damaged.
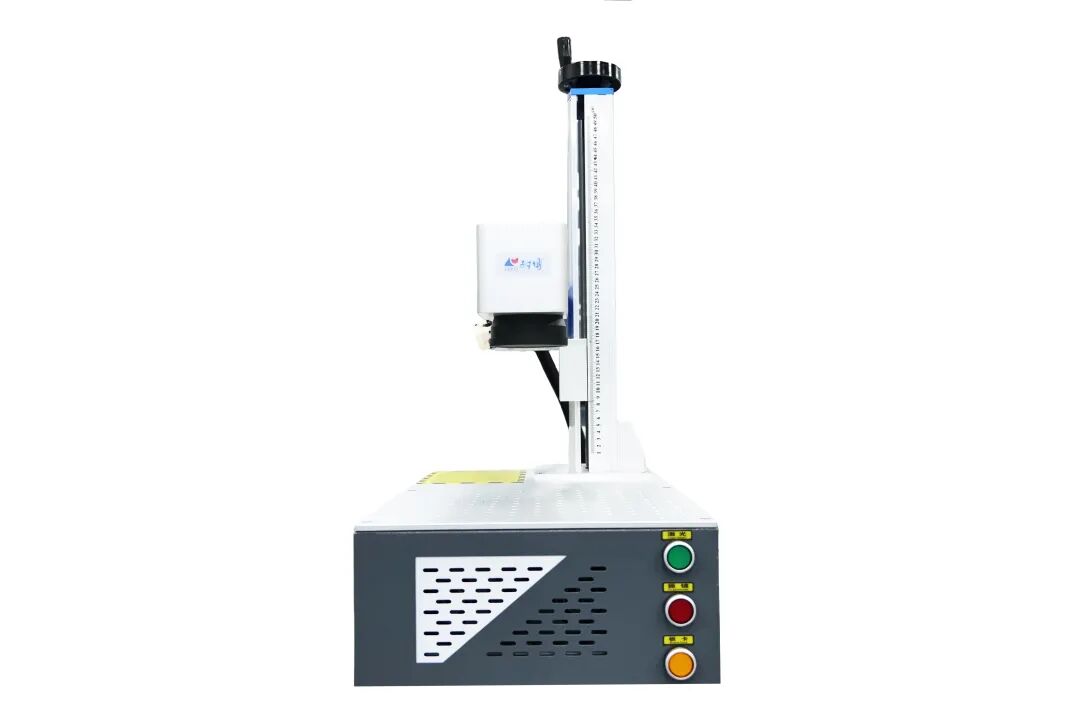
3. Laser Marking Method
Utilizing a fiber/CO₂ laser marker, a laser beam ablates or oxidizes the sample surface, creating a permanent mark.
This method is particularly suitable for high-hardness materials (such as ceramics and carbide), enabling precise marking of micron-level characters or QR codes. As a non-contact method, it does not introduce mechanical stress, and the marks are wear-resistant and corrosion-resistant, ensuring long-term preservation.
The LABTT LMM-1000 fiber laser marker is specifically designed for marking metallographic samples, enabling clear marking on both flat and curved surfaces, and on both metals and mounting materials.
Caution: Excessive laser energy may cause localized melting or phase transformation of the material, so marking should be performed away from the area to be observed.
4. Color Marking Method
Use different colors of high-temperature-resistant mounting materials, or color the samples with colored markers, to distinguish between different batches or experimental groups.
Suitable for group comparison experiments (such as heat treatment process comparisons), facilitating quick identification. However, the color may be removed during polishing or etching, resulting in poor durability.
5. Mounting Aid Marking
During the cold mounting process, small, numbered pieces of paper or metal tags are embedded directly into the transparent resin. Sample holders of different colors or materials can also be used for identification.
This method is suitable for mounting small, complex, or long-term specimens, providing a secure, non-lost mark.
Choosing the appropriate marking method based on actual needs can ensure sample integrity while improving experimental efficiency and data traceability.

