LATEST NEWS
Press releases & Product news
Practical Tips for Metallographic Cold Mounting: From Pretreatment to Demolding, Say Goodbye to Defects in One Step!
2025-09-22

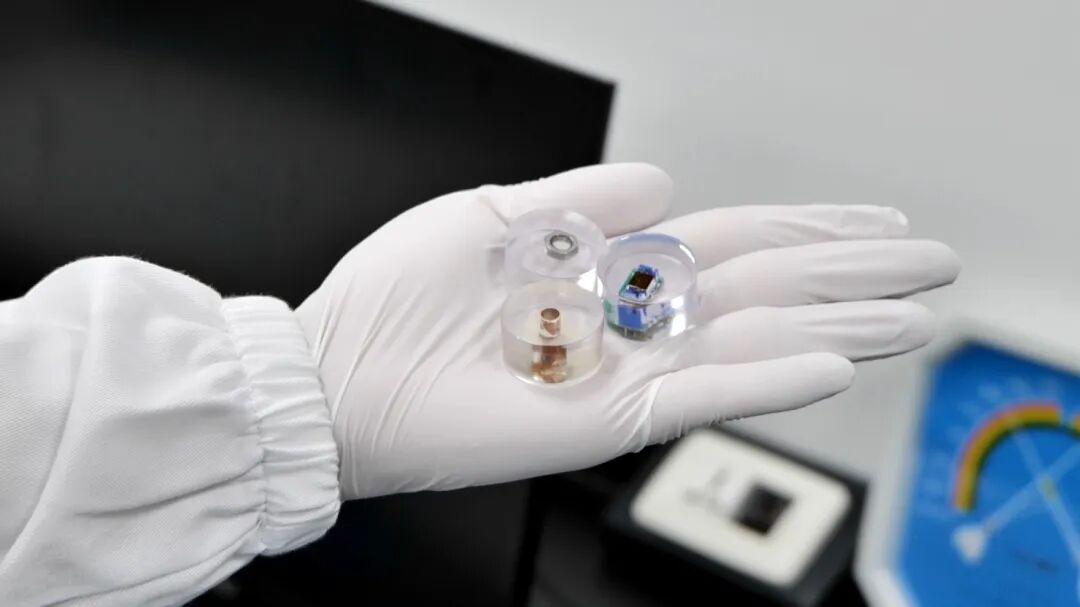
Metallographic cold mounting is a critical step in material preparation. A high-quality mounting result requires standardized operation and meticulous control. From sample pretreatment, resin mixing, mold positioning, to final demolding, every step directly impacts the success of the mounting. Below, these practical tips will help you easily improve mounting quality and eliminate common defects!

1. Sample Pretreatment: Cleanliness is the First Step to Success
Specimens must be thoroughly dried and degreased before mounting!
Anhydrous ethanol can be used for cleaning, paying particular attention to moisture trapped in crevices. A hair dryer is recommended for thorough drying.
For stubborn oil stains on the sample surface, ultrasonic cleaning with acetone, soapy water, or alcohol for 5-10 minutes is recommended for more thorough removal.
2. Resin Mixing and Degassing: Ratio and Temperature are Key
An inaccurate ratio of resin to hardener can easily lead to poor curing or stickiness.
It is recommended to use an electronic balance for accurate weighing to avoid manual estimation. Is resin fluidity poor in winter? Don't worry!
Preheat the resin bottle in warm water to around 25°C (remember, never exceed 30°C). This will significantly improve fluidity and facilitate the removal of bubbles.
Stir slowly along the sides of the container while mixing to reduce bubble formation. After mixing, let it sit for 1-2 minutes until the bubbles naturally rise and burst before pouring.
3. Mold Pouring and Positioning: Even Complex Samples Are Not Worrying
For samples with deep holes, multiple holes, or complex shapes, it is recommended to pour the resin in two steps:
Pour the first layer into the mold to about 1/3 of its height, place the sample, and adjust the position. After the resin is semi-cured, pour the second layer to effectively prevent the sample from floating or shifting.
For small samples, use a sample holder or attach solvent-resistant double-sided conductive tape to the bottom of the mold to prevent shifting during pouring.
When pouring the resin, remember to pour slowly along the inner wall of the mold to avoid direct impact on the sample. If you need to position the sample vertically (such as for cross-section analysis), tilt the mold 45 degrees to allow gravity to naturally expel air bubbles and improve mounting density.
4. Demolding and Post-Processing: Perfect Finish, Mirror-Smooth Edges
Having trouble demolding? Try the "freezing method": Place the cured mount in the freezer for 10 minutes. This method leverages the shrinkage differences between the resin and the mold (silicone/metal) to easily and completely demold the sample.
The silicone mold can be gently squeezed in reverse, avoiding the need for hard prying with metal tools and damaging the sample.
Final Step—Polishing:
Use 180-grit wet sandpaper or a small grinding wheel to gently trim the edges of the mount to create a smooth, rounded surface, facilitating subsequent polishing and observation.
LABTT offers a comprehensive line of cold mounting consumables to meet a wide range of mounting needs. Metallographic cold mounting requires no heat, pressure, or mounting machine, making it ideal for preparing heat-sensitive samples and in locations where mounting equipment is unavailable. This process not only saves equipment investment and energy consumption, but also effectively avoids sample softening caused by high-temperature annealing and prevents thermal changes in internal structures. It is particularly suitable for the high-quality mounting requirements of microsectioned samples in the electronics industry.


